Why DIY Hardscaping Can Go Wrong
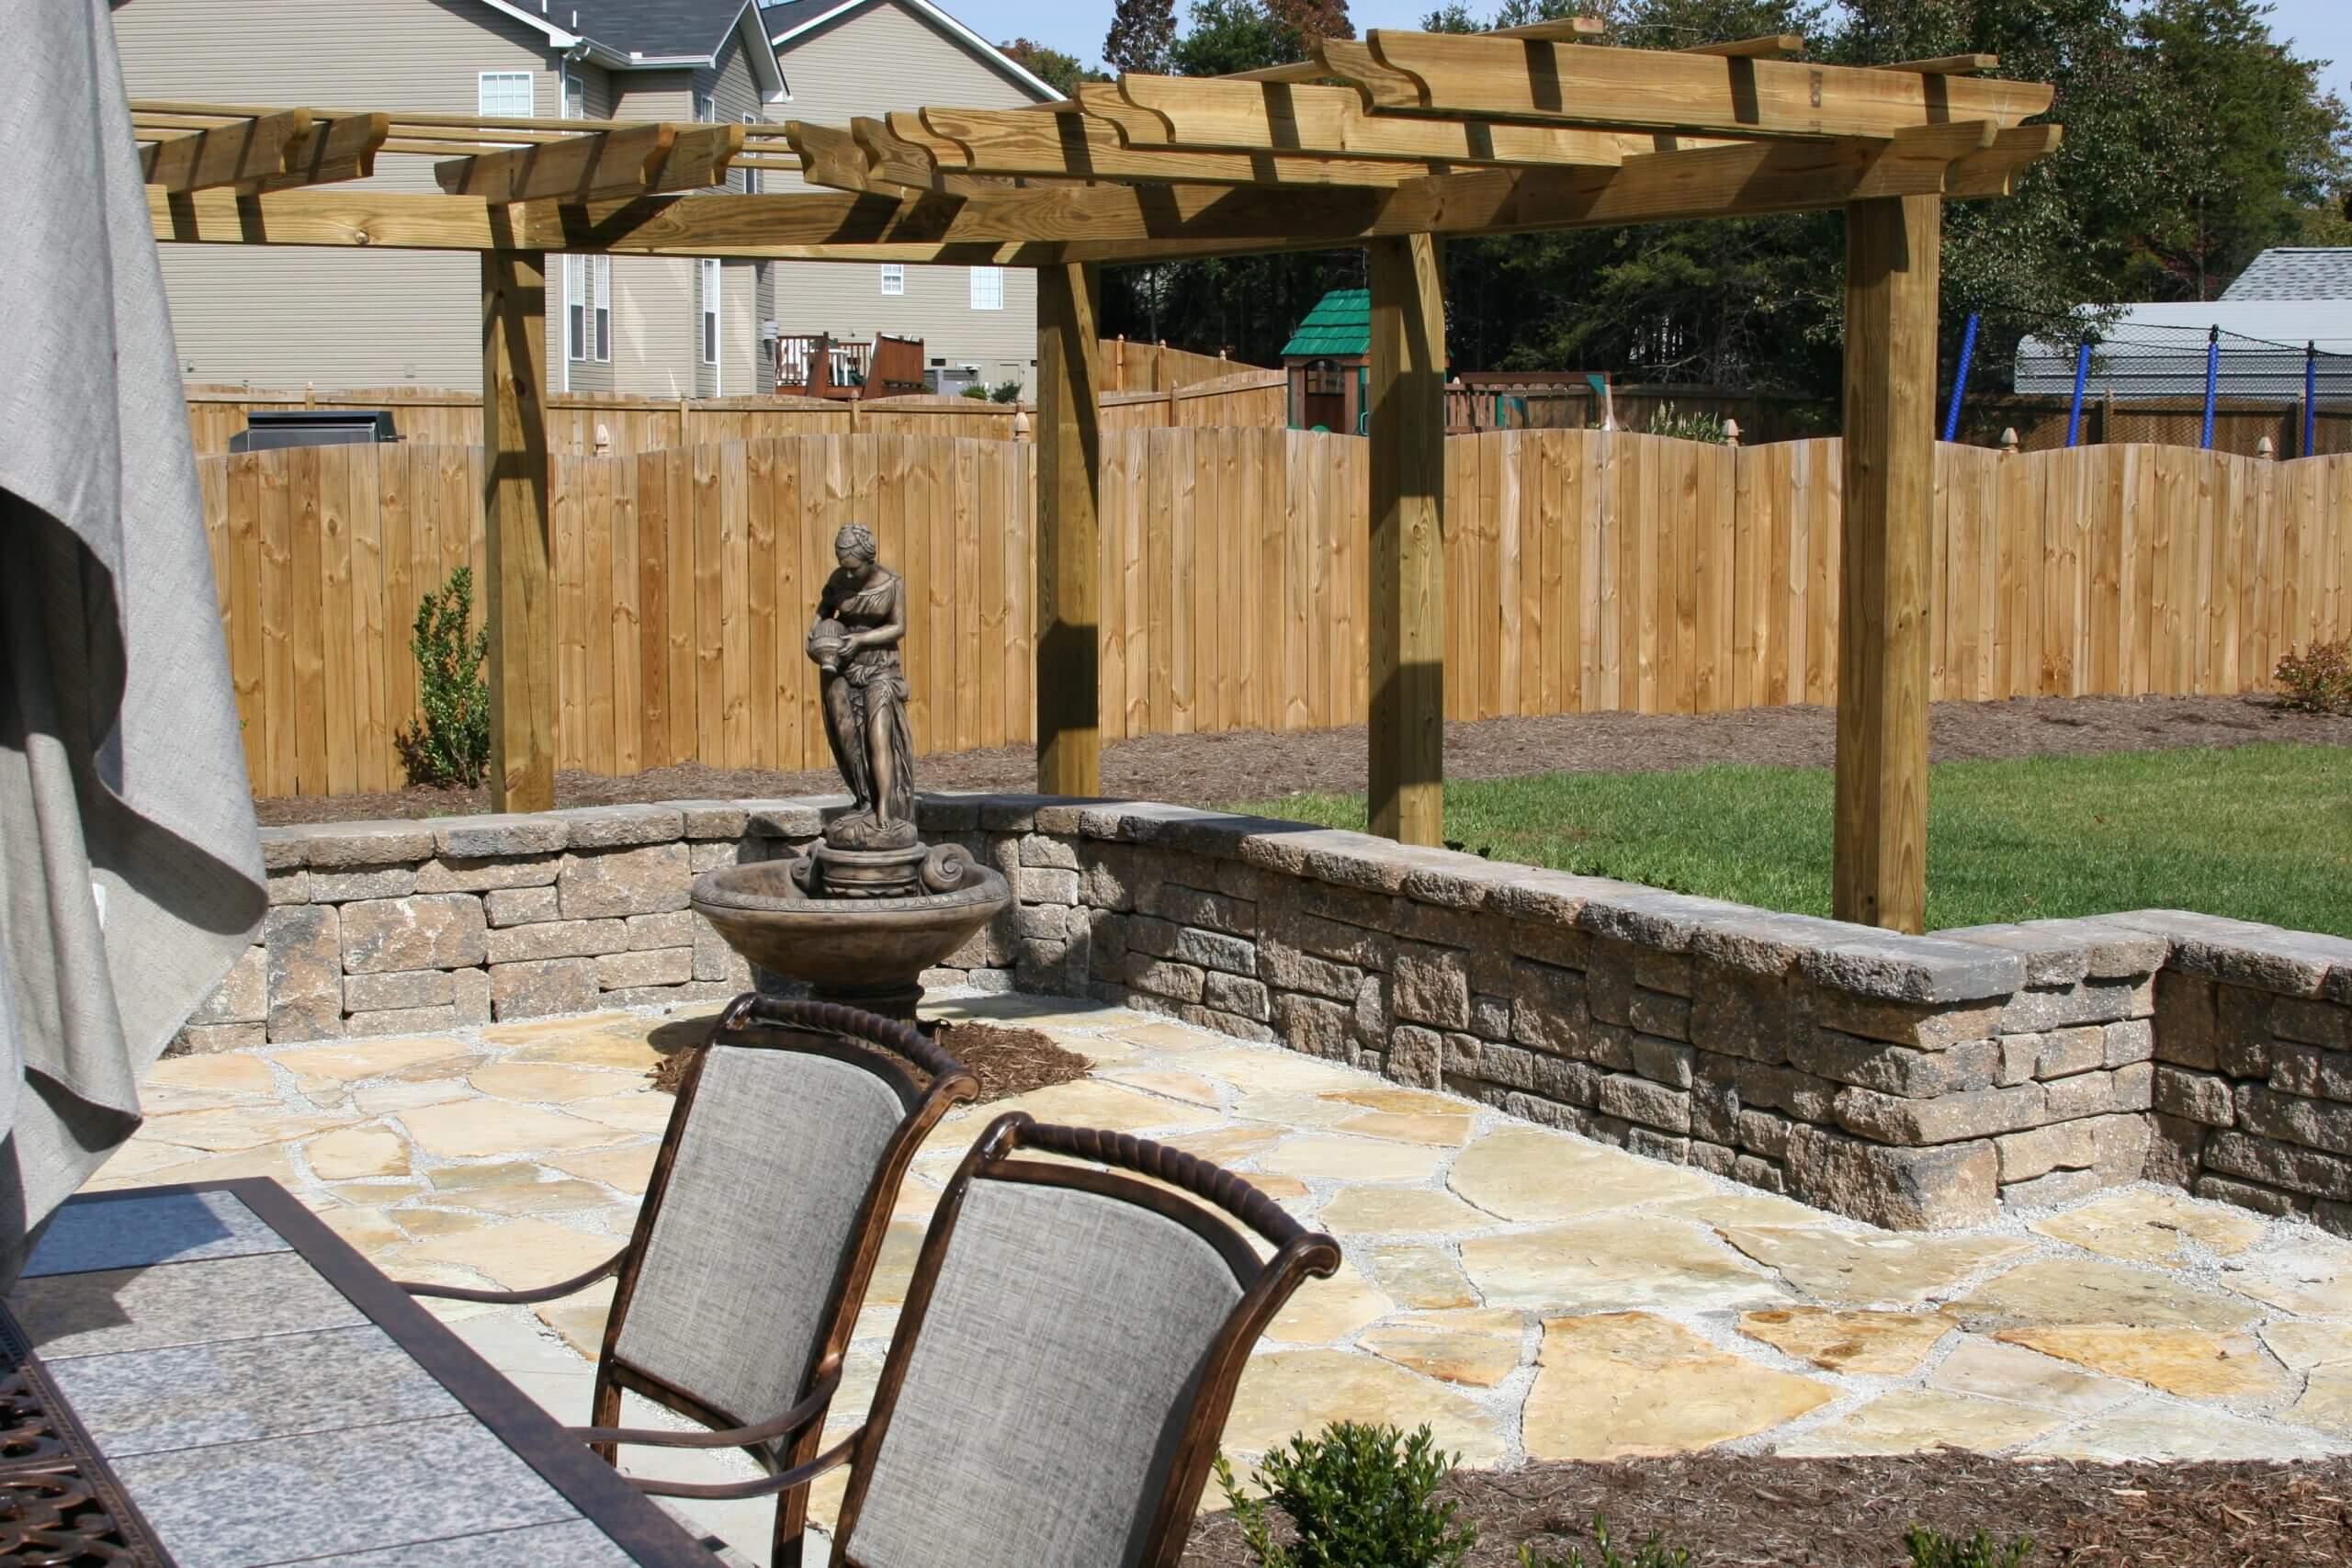
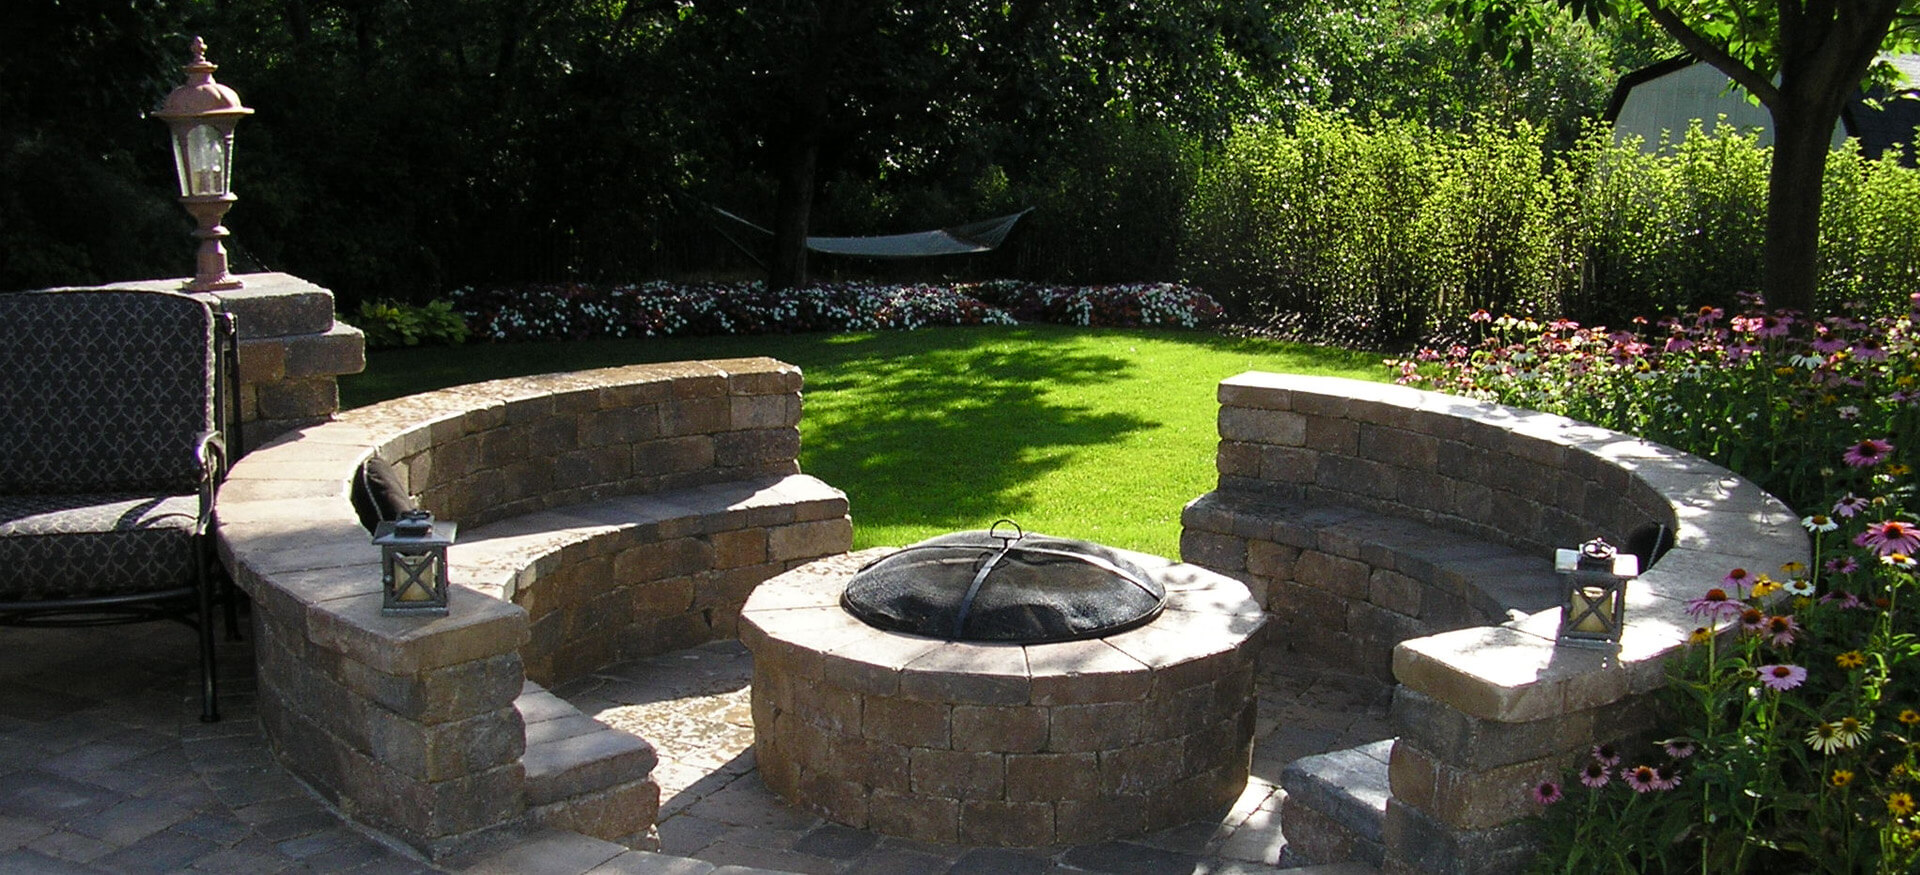
You had a vision: a beautiful backyard patio where you could drink your morning coffee, a fire pit where friends and family could gather, or maybe a winding garden path to add character to your outdoor space. You watched the DIY videos, made a trip to the home improvement store, and got to work.
But now, a few months in, things aren’t looking as great as you hoped. Maybe your pavers are shifting, water is pooling in all the wrong places, or that retaining wall you built is starting to lean—just a little at first, but enough to make you nervous.
If this sounds familiar, you’re not alone. At Willow Ridge Garden Center and Landscaping, we serve homeowners in Oak Ridge, Knoxville, and the surrounding areas who have experienced the same frustrations. Hardscaping looks easy on video, but small mistakes in the process can lead to big problems down the line.
We don’t say this to discourage you from tackling a project yourself. If you’re a hands-on homeowner, we respect that. But we also want to help you do it right the first time so you don’t end up spending more time and money fixing things later.
Let’s walk through five of the most common DIY hardscape mistakes and how to avoid them. If you’re going to do it yourself, we want you to do it well.
Poor Base Preparation – The Foundation of Every Hardscape
Why It’s a Problem
Every hardscape feature—whether it’s a patio, walkway, or retaining wall—relies on a solid foundation. If the base isn’t prepared correctly, everything built on top of it will shift, sink, or crack over time.
Where DIYers Go Wrong
- Not digging deep enough before adding the base
- Using the wrong materials, like sand or pea gravel, instead of crushed stone
- Skipping proper compaction, leading to a surface that settles unevenly
How to Get It Right
- Dig deep enough – Most paver patios require at least six to eight inches of compacted base material, while driveways need more.
- Choose the right base – Use crushed stone with fines, not just sand or loose gravel. The small particles in crushed stone help lock everything together.
- Compact thoroughly – Rent a plate compactor to pack down the base in layers. Compact every two inches of material before adding more.
Think of it like a mattress. A flimsy mattress without support sags in the middle. The same thing happens with pavers if the base isn’t solid underneath them.
Drainage Problems – Water is Your Hardscape’s Worst Enemy
Why It’s a Problem
Water that doesn’t drain properly will erode the base, cause pavers to shift, and even damage your home’s foundation if it pools in the wrong places.
Where DIYers Go Wrong
- Forgetting to plan for slope and grading
- Installing pavers directly on soil, preventing proper drainage
- Not adding drainage solutions, like French drains or weep holes in retaining walls
How to Get It Right
- Slope matters – Your patio or walkway should be sloped at least one-eighth inch per foot to direct water away from buildings and foundations.
- Use permeable materials – Permeable pavers allow water to drain through instead of pooling on top.
- Install drainage solutions – If your hardscape is next to your house, use a French drain or channel drain to divert excess water.
Picture a rainstorm hitting your patio. Where does the water go? If you don’t have an answer, you probably have a drainage issue.
- Uneven Paver or Stone Placement – The Trip Hazard You Didn’t Plan For
Why It’s a Problem
An uneven patio isn’t just unattractive—it’s a safety hazard. Tripping over an uneven paver isn’t exactly the relaxing backyard experience you were hoping for.
Where DIYers Go Wrong
- Rushing through installation without checking for levelness
- Using too much or too little sand between pavers
- Not installing edge restraints, causing pavers to shift over time
How to Get It Right
- Use a screed board – Before laying pavers, use a straight board to level out the base layer.
- Check your levels constantly – Every few pavers, use a level to make sure everything is even.
- Install edge restraints – These keep pavers from shifting over time, preventing gaps and uneven surfaces.
It’s like laying tile. If you don’t check for level as you go, you’ll end up with an uneven surface—and fixing it later is a headache.
- Choosing the Wrong Materials – Not All Pavers Are Created Equal
Why It’s a Problem
Not every type of stone, paver, or wall block is suitable for every job. Choosing the wrong material can lead to cracks, crumbling, and early replacement.
Where DIYers Go Wrong
- Using cheap pavers that don’t withstand freeze-thaw cycles
- Picking materials that aren’t rated for load-bearing applications
- Ignoring the color and texture differences in natural stone
How to Get It Right
- Consider your climate – If you live in an area with freeze-thaw cycles (like Knoxville), choose materials designed for it.
- Match the material to the job – Driveways need thicker, stronger pavers than a garden path.
- Ask an expert – Not sure what to use? Visit a garden center and get advice before you buy.
Would you build a house with the wrong lumber? No. Hardscaping works the same way—materials matter.
Skipping Edge Restraints and Joint Stabilization – The Little Details That Keep Everything Together
Why It’s a Problem
Without edge restraints and proper joint stabilization, pavers shift, weeds grow between cracks, and your hardscape starts to break apart.
Where DIYers Go Wrong
- Not installing edge restraints, allowing pavers to spread
- Using regular sand instead of polymeric sand between joints
- Skipping sealing, which protects against water and stains
How to Get It Right
- Use plastic or metal edge restraints to keep pavers in place.
- Choose polymeric sand – It hardens when wet, preventing weed growth and keeping joints locked in place.
- Seal the surface – This helps protect pavers from stains, erosion, and wear.
Think of edge restraints like a picture frame. Without them, the picture falls apart.
Bonus: When to DIY vs. When to Call a Pro
Some projects are great for DIY. Others? Not so much.
DIY-Friendly Projects: Small pathways, garden edging, stepping stone walkways
Call a Pro For: Large patios, driveways, retaining walls over two feet tall
Not sure where you stand? We’re happy to give you expert advice—whether you’re doing it yourself or want us to handle the heavy lifting.
Final Thoughts: A Hardscape That Lasts
DIY hardscaping can be rewarding, but small mistakes can lead to costly problems. By preparing the base correctly, planning for drainage, leveling surfaces, choosing the right materials, and securing edges, you’ll save yourself time, money, and frustration.
At Willow Ridge Garden Center and Landscaping, we love seeing homeowners succeed in their outdoor projects. Whether you need materials, expert advice, or professional installation, we’re here to help.
Ready to get started? Stop by our garden center or contact us today—we’d love to help bring your vision to life.