As the weather begins to warm up, it’s time to get your garden ready for spring planting. Proper preparation now will set you up for a beautiful and productive growing season. There are two main areas to focus on: your flower beds and vegetable beds. Let’s break down the steps for getting both areas in tip-top shape!
Preparing Your Flower Beds
To ensure your flower beds are ready for vibrant spring plants, start with cleaning up and marking your existing plants, such as perennials and bulbs.
Step-by-Step Flower Bed Prep:
- Cut Back Dead Foliage: Begin by trimming any dead or faded foliage from grasses and perennials. This helps new growth emerge and keeps your garden looking tidy.
- Label Plants or Create a Diagram: As you prune, take note of your plants’ locations. You can label them with small markers or make a simple diagram of where each plant is. This will help you plan and avoid damaging perennials when planting new ones.
- Prune Shrubs and Trees: If you have shrubs or trees in your flower bed, it’s important to find out the best time to prune them. Pruning at the right time will promote healthy growth, so be sure to do your research or consult an expert.
- Rake Up Debris: Remove any fallen leaves, sticks, or other debris. You can either dispose of them or add them to a compost or burn pile.
- Define the Bed Edge: A clear, defined edge around your flower beds will give them a neat, manicured look. Consider using edging materials or simply reshaping the soil for a crisp boundary.
- Add Fresh Mulch: After cleaning up, add a fresh layer of mulch. Mulch serves many purposes, including retaining moisture, suppressing weeds, and giving your bed a polished look. You can use shredded hardwood bark, dyed wood mulch, pine straw, pine nuggets, or even pea gravel or small river rocks. Mulch will also help your plants thrive by providing insulation against temperature fluctuations.
- Apply Herbicide: Once the mulch is in place, apply a granular herbicide, such as Treflan or Preen, to help prevent weeds from taking over your garden. Be sure to follow the manufacturer’s instructions for proper application.
With all of this preparation complete, your flower beds are now ready for planting annuals, perennials, or any other plants you’re excited to add come spring
Preparing Your Vegetable Beds
Now that your flower beds are ready, it’s time to tackle the vegetable garden. Preparing the soil for spring vegetables is a little different but just as important.
Step-by-Step Vegetable Bed Prep:
- Clean Up the Existing Bed Area: Start by removing any leftover plants from the previous season. This will clear space for your new crops and prevent any old plants from becoming a source of disease or pests.
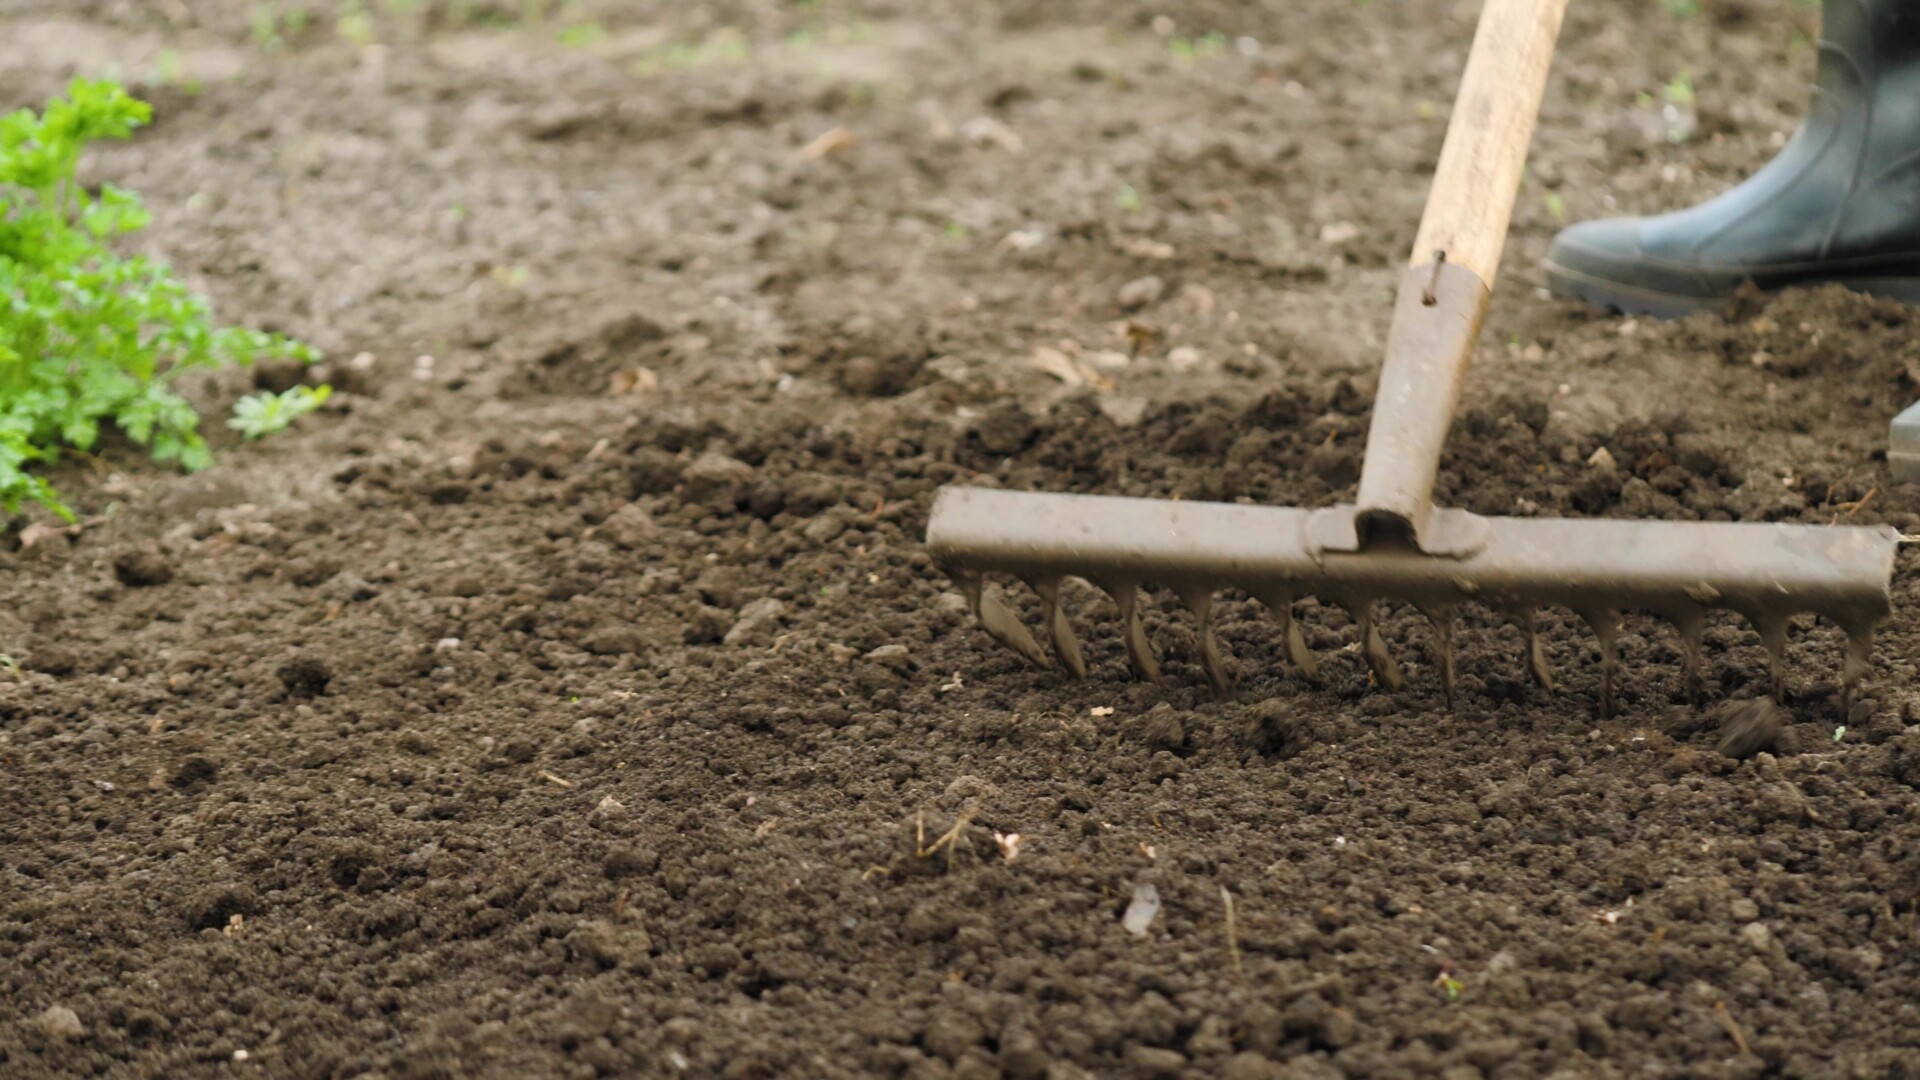
- Rake Away Debris: Clear the surface area of any leaves, sticks, or large stones. This will create a clean and level bed for planting.
- Add Mushroom Compost: Spread a layer of mushroom compost evenly across the bed. A thickness of at least two inches will provide rich nutrients to your soil. This compost is a great organic material that will improve soil structure and drainage.
- Do Not Till: Unlike traditional gardening, there’s no need to till the compost into the soil. Simply let it “melt” into the top layer of soil as it breaks down. This helps retain beneficial microbes and keeps the soil intact.
Once the compost is in place, you’ll have a nutrient-rich environment that’s perfect for planting vegetables and herbs when the time comes.
Ready to Plant!
With both your flower and vegetable beds prepped and primed, you’re ready to start planting when spring arrives. A little preparation now goes a long way toward ensuring a successful growing season filled with healthy, thriving plants. Happy gardening!