Growing Garlic
You may not know this but garlic is one of the easiest crops to grow!
If your recipes have you buying garlic every week, it’s time to consider growing it for yourself and saving tons of money! So let’s start with the basics.
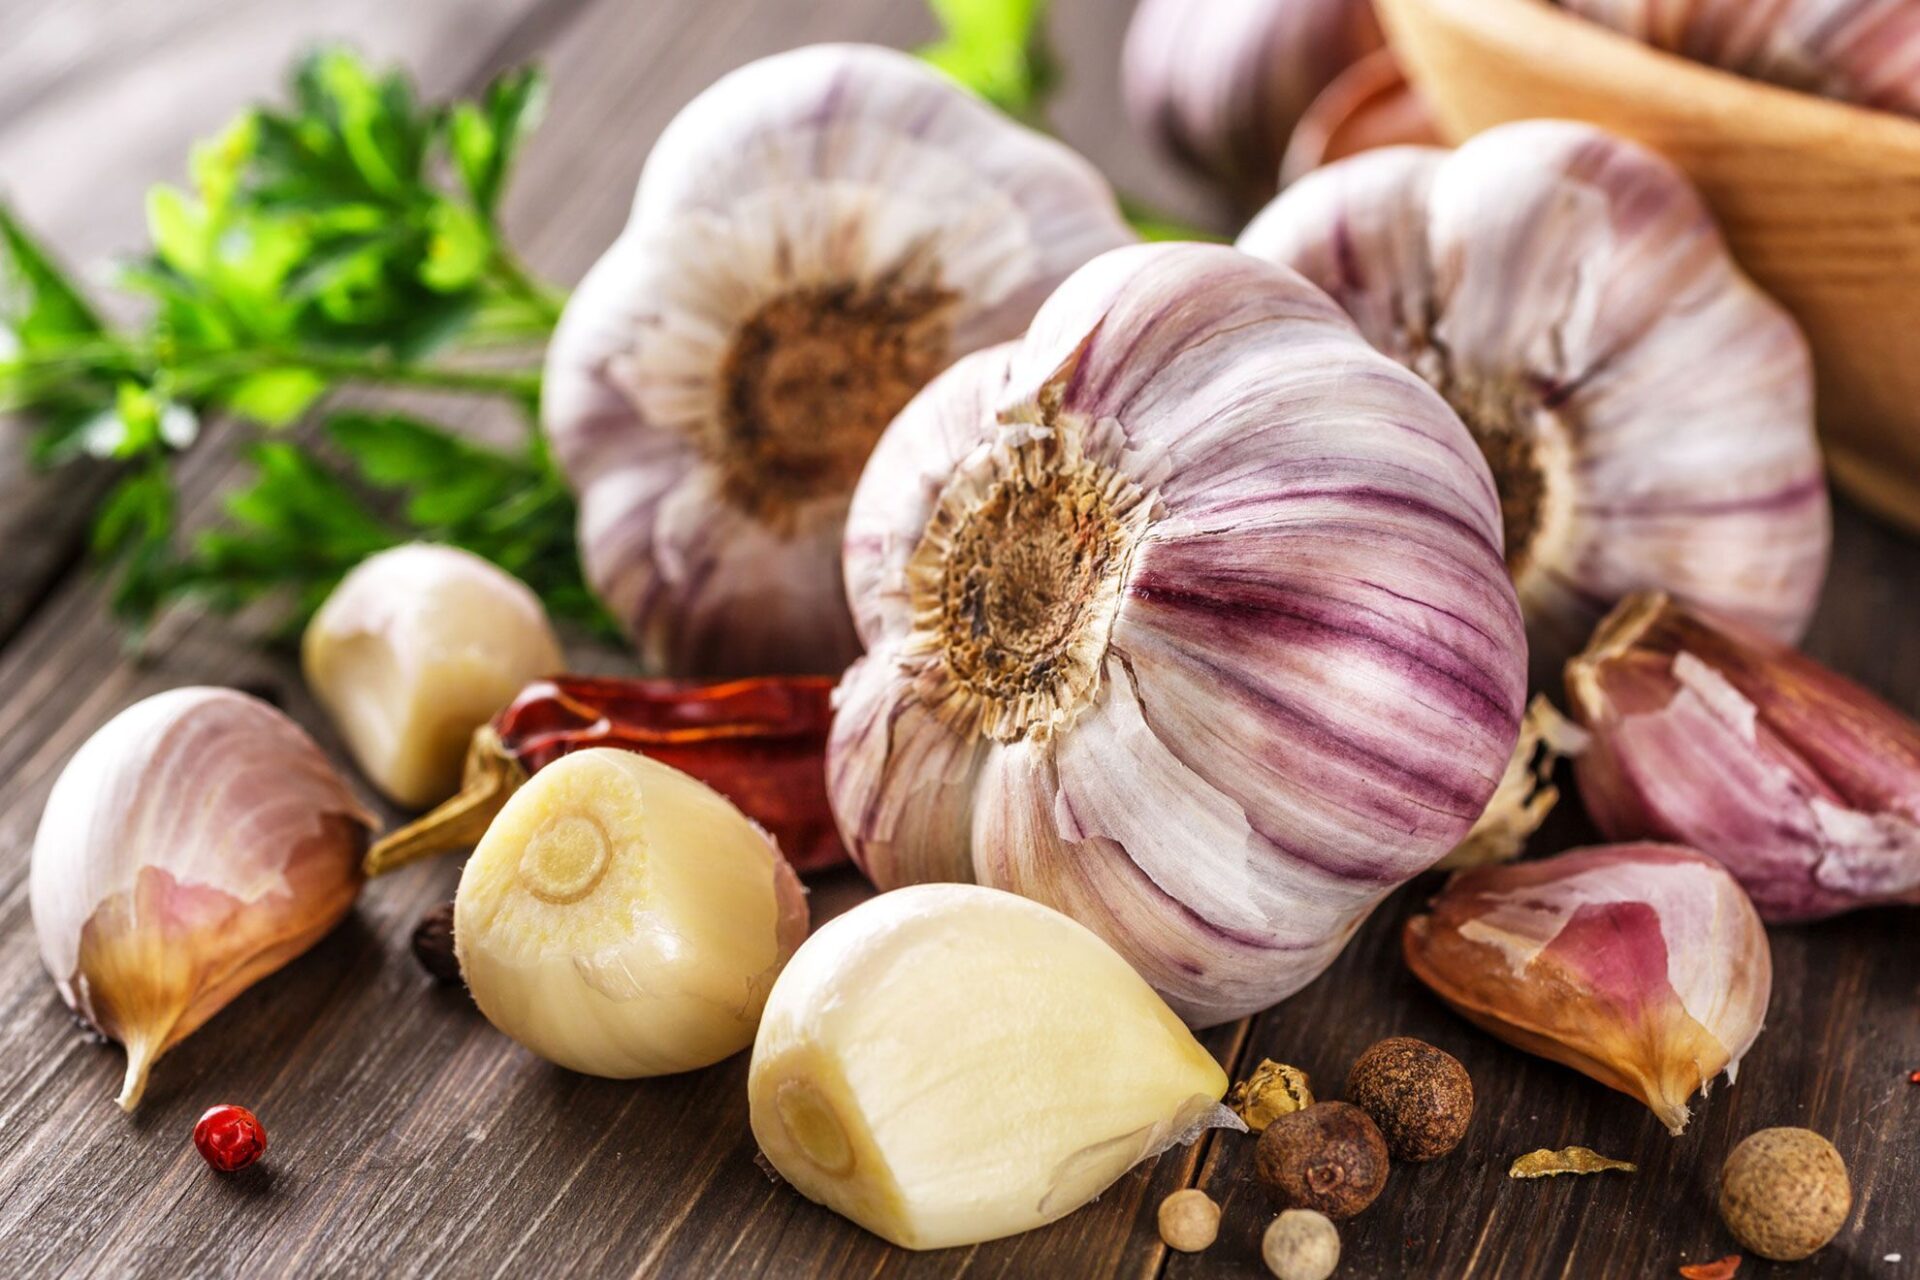
A garlic ‘head’ is what we buy in the grocery store. Garlic ‘cloves’ are the individual pieces of garlic that make up the head.
Although there are many varieties of garlic, there are only two types, hard neck and soft neck. If you were to cut both types in half horizontally, this is what each would look like as well as their traits.
Soft neck garlic has layers of individual large and small cloves that go all the way to the center of the head. They tend to be mild in flavor and store very well but can be more difficult to peel.
Hard neck garlic is a single ring of cloves that encircle a hard stem in the center of the head. They tend to be bold in flavor and easy to peel but, they don’t store as well and have fewer, but larger cloves. An added bonus is getting to harvest the ‘scape’ that grows from the center, but more on that later.
Garlic can be planted in the spring however you will yield a much larger and more flavorful head if you plant in the fall. Cloves should be planted no later than October to give them time to establish before winter.
So lets talk soil preparation and planting.
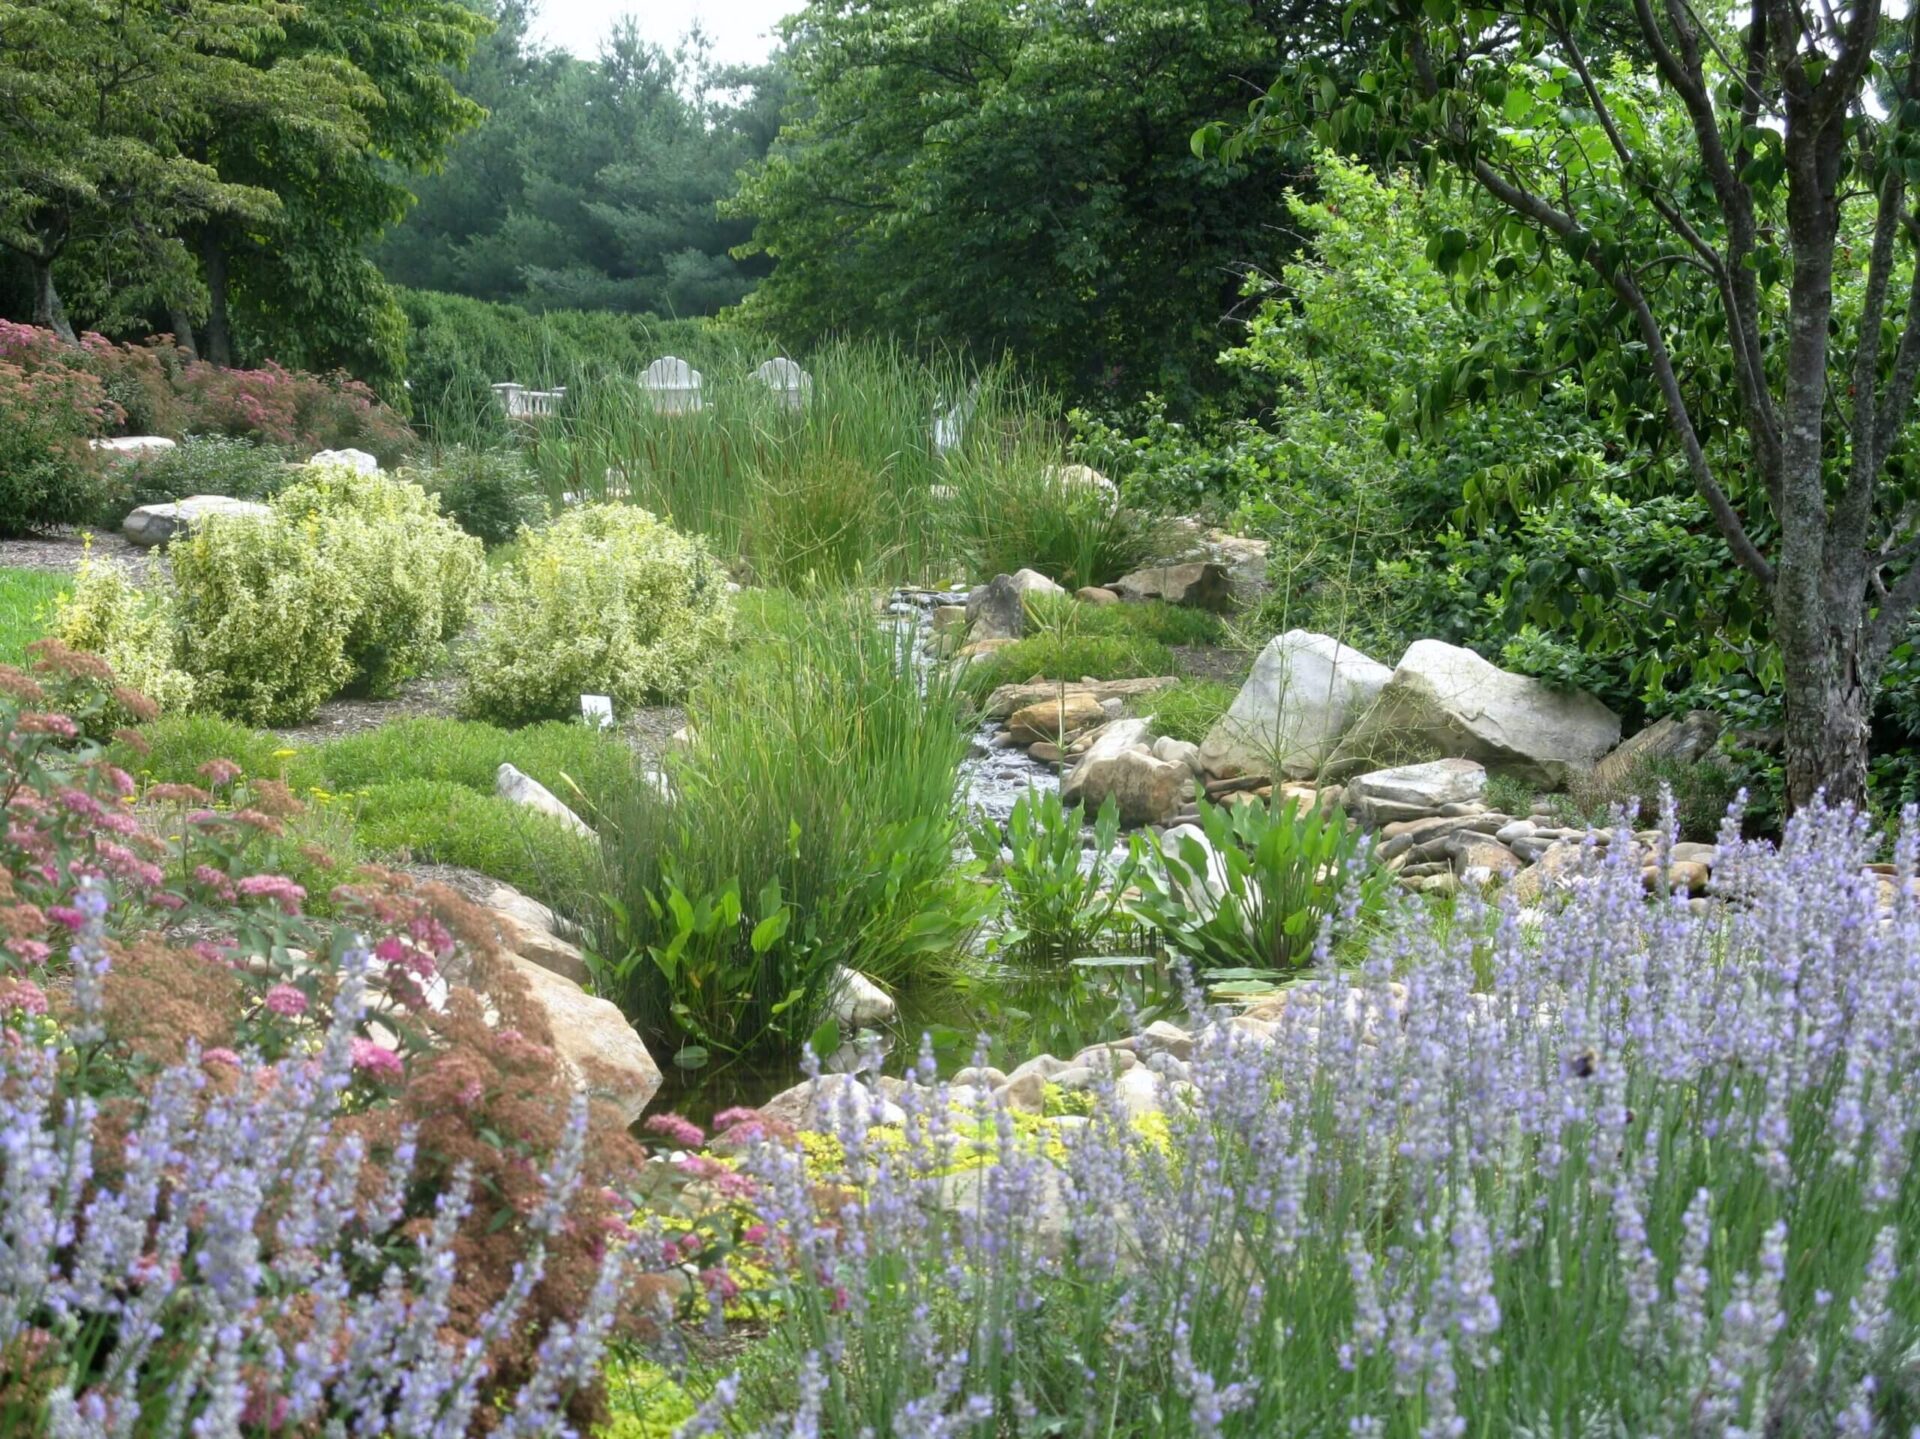
Garlic prefers to be grown in full sun in an organically rich and loamy soil with a pH range of 6-7. It requires good drainage and plenty of room for the heads to expand. Try to prepare the area at least a month ahead of planting to ensure you have the right balance.
After bringing home your seed garlic heads, you will need to crack them into individual cloves for planting. Break the heads apart but do not remove the paper skins. This skin protects them from rotting in the ground. Cloves will need to be planted within one week after the bulbs are cracked apart.
Here in Tennessee, garlic should be planted only 1-2” deep. Dig your holes at least 6” apart and be sure your rows are at least 12” apart to allow enough growing room. Place one clove per hole with the pointed end facing up. Cover with soil and then place a layer of leaf or straw mulch over the bed at least an inch deep to help protect them as temperatures drop.
Once planted, water the garlic only when the soil dries out. Garlic loves water, but too much may cause it to rot. It’s also wise not to add additional fertilizer, which could cause the garlic to grow to fast causing it to freeze and die off in the winter. If you start to see green shoots peeking out of the mulch, don’t panic! This is completely normal and means your garlic is happy! Simply cover the shoots with a bit more mulch to protect them.
Now we sit back and wait out the winter!
Once we have passed the last frost date, its safe to pull back your mulch. Any early sprouting leaves may look sickly pale but that is also completely normal after a winter in the dark. Now is the time to feed your garlic with a high nitrogen fertilizer to get the growth moving. As your garlic grows it’s important to keep the bed as weed free as possible so your plants don’t have to compete for water and nutrients.
If you decided to plant hard neck garlic, pretty soon you will start to see a single stalk rising from the center of the plant. This stalk called the ‘scape’ contains seeds inside the bulb that forms at its tip. To keep the energy concentrated on forming the head below ground many people will remove the scape at its base once the top begins to curl. And here’s the cool part…the scape is delicious! It can be chopped and added to soups, stews, stir fry’s or any dish where you would use garlic.
So when do you know its time to harvest?
Somewhere between June and July your garlic leaves will begin to die. This is the signal that it’s almost time to harvest. Stop all additional watering for the next two weeks to allow bulbs to dry out below the soil.
On the day of harvest use a garden fork to pry up the garlic but be sure to stay at least 6” away from the base of the plant so you don’t accidently pierce the head. Remove large lumps of excess soil but don’t completely clean it off.
Just like potatoes and onions, garlic needs to cure before it can be stored. Curing dries out the paper skin and protects the head from becoming moldy.
The best method for curing garlic is to use the leaves to tie it onto a clothes line strung in your garage or basement. There should be good air circulation and located away from any windows. Once the garlic is completely cured use a soft brush to clean away any remaining dried soil and cut off any roots on the bottom of the bulb to about a half inch.
To store garlic a great method is to place them one by one in the leg of a pair of pantyhose, tying a knot in the hose between each bulb. The string of garlic can be stored again, in the garage or basement and, when you need a head of garlic simply cut one off below the next knot!
So why not give garlic a try this fall?