Spring is all about fresh starts—so why not give your perennials a little boost? Dividing and replanting perennials keeps your garden vibrant, encourages healthier plants, and gives you more greenery to enjoy (or share with friends). Whether you’re a seasoned gardener or just getting started, this guide will walk you through the simple steps to refresh your perennials this spring.
Why Divide Perennials?
As perennials grow, they can become overcrowded, leading to fewer blooms and weaker plants. Dividing them helps by:
- Boosting plant health – Less competition means stronger roots and better growth.
- Increasing flower production – Freshly divided plants tend to bloom more.
- Preventing disease and overcrowding – Better air circulation keeps plants happy.
- Expanding your garden (for free!) – More plants without spending a dime!
When’s the Best Time to Divide?
For perennials that bloom in summer or fall, spring is the perfect time to divide. You want to catch them as new growth appears but before the heat of summer kicks in. In Knoxville, TN, aim for mid-March to late April.
Perennials That Thrive with Spring Division
Not all perennials need dividing, but these are great candidates:
- Hostas – They love a fresh start every 3-5 years.
- Daylilies – Keeps them from becoming overgrown and boosts blooms.
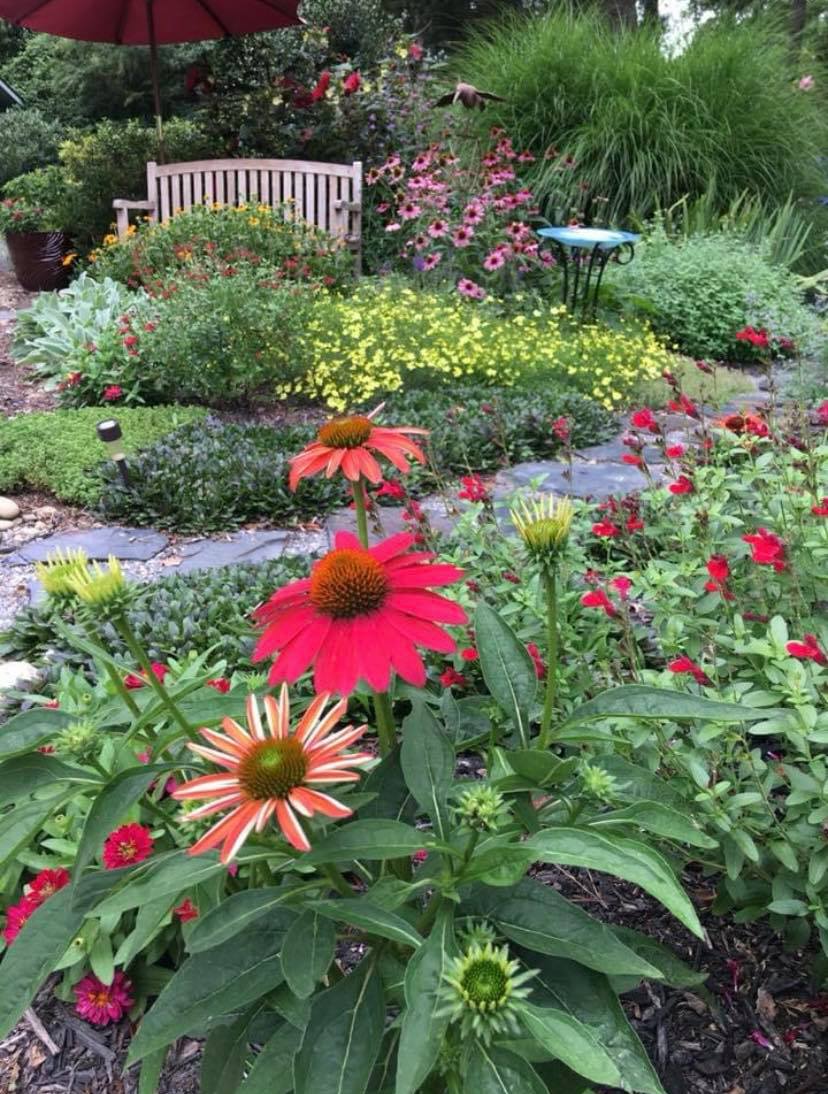
- Coneflowers (Echinacea) – Helps them produce bigger, healthier flowers.
- Black-eyed Susans (Rudbeckia) – Prevents them from taking over your garden.
- Phlox – Keeps plants lush and full.
- Bee Balm (Monarda) – Helps control spreading and prevents mildew.
- Shasta Daisies – Stops them from getting too leggy.
How to Divide and Replant Perennials: A Step-by-Step Guide
Step 1: Gather Your Tools
Before you start, make sure you have: ✔️ A sharp spade or garden fork
✔️ Pruning shears
✔️ A garden knife or hand saw (for tougher roots)
✔️ Compost or organic matter
✔️ A watering can or hose
✔️ Mulch for moisture retention
Step 2: Dig Up the Plant
- Water the plant the day before—it reduces stress on the roots.
- Use a spade to dig around the plant, keeping a few inches away from the root ball.
- Gently lift the plant, keeping as much of the root system intact as possible.
Step 3: Divide the Root Ball
- Shake off excess soil to see the roots clearly.
- Look for natural divisions—these sections will have their own stems and roots.
- Gently pull apart small divisions or use a garden knife for tougher roots.
- Trim away any dead or extra-long roots to promote new growth.
Step 4: Replant with Care
- Pick a spot with the right sunlight and soil conditions for each plant.
- Enrich the soil with compost for extra nutrients.
- Dig a hole slightly larger than the root ball and place your division in.
- Water deeply to help roots settle in.
- Apply a layer of mulch to lock in moisture and regulate temperature.
Step 5: Post-Transplant Care
- Keep the soil moist while plants establish.
- Hold off on fertilizing right away—give them 2-4 weeks to adjust first or use a slow release fertilizer.
- Watch for signs of transplant shock (wilting or yellowing) and provide shade if needed.
Local Tips for Knoxville Gardeners
- Work in the morning or evening to avoid the midday heat.
- Improve Knoxville’s clay soil by mixing in compost for better drainage.
- Be mindful of late frost—cover new transplants with mulch if temps drop.
- Help pollinators by spreading Coneflowers and Bee Balm throughout your garden.
Get Expert Advice at Willow Ridge Garden Center!
Need compost, mulch, or more gardening tips? Visit Willow Ridge Garden Center & Landscaping for expert advice and high-quality plants. Stop by today, follow us on Facebook and Instagram, or subscribe to our newsletter for more seasonal gardening know-how. Let’s make your garden thrive this spring!