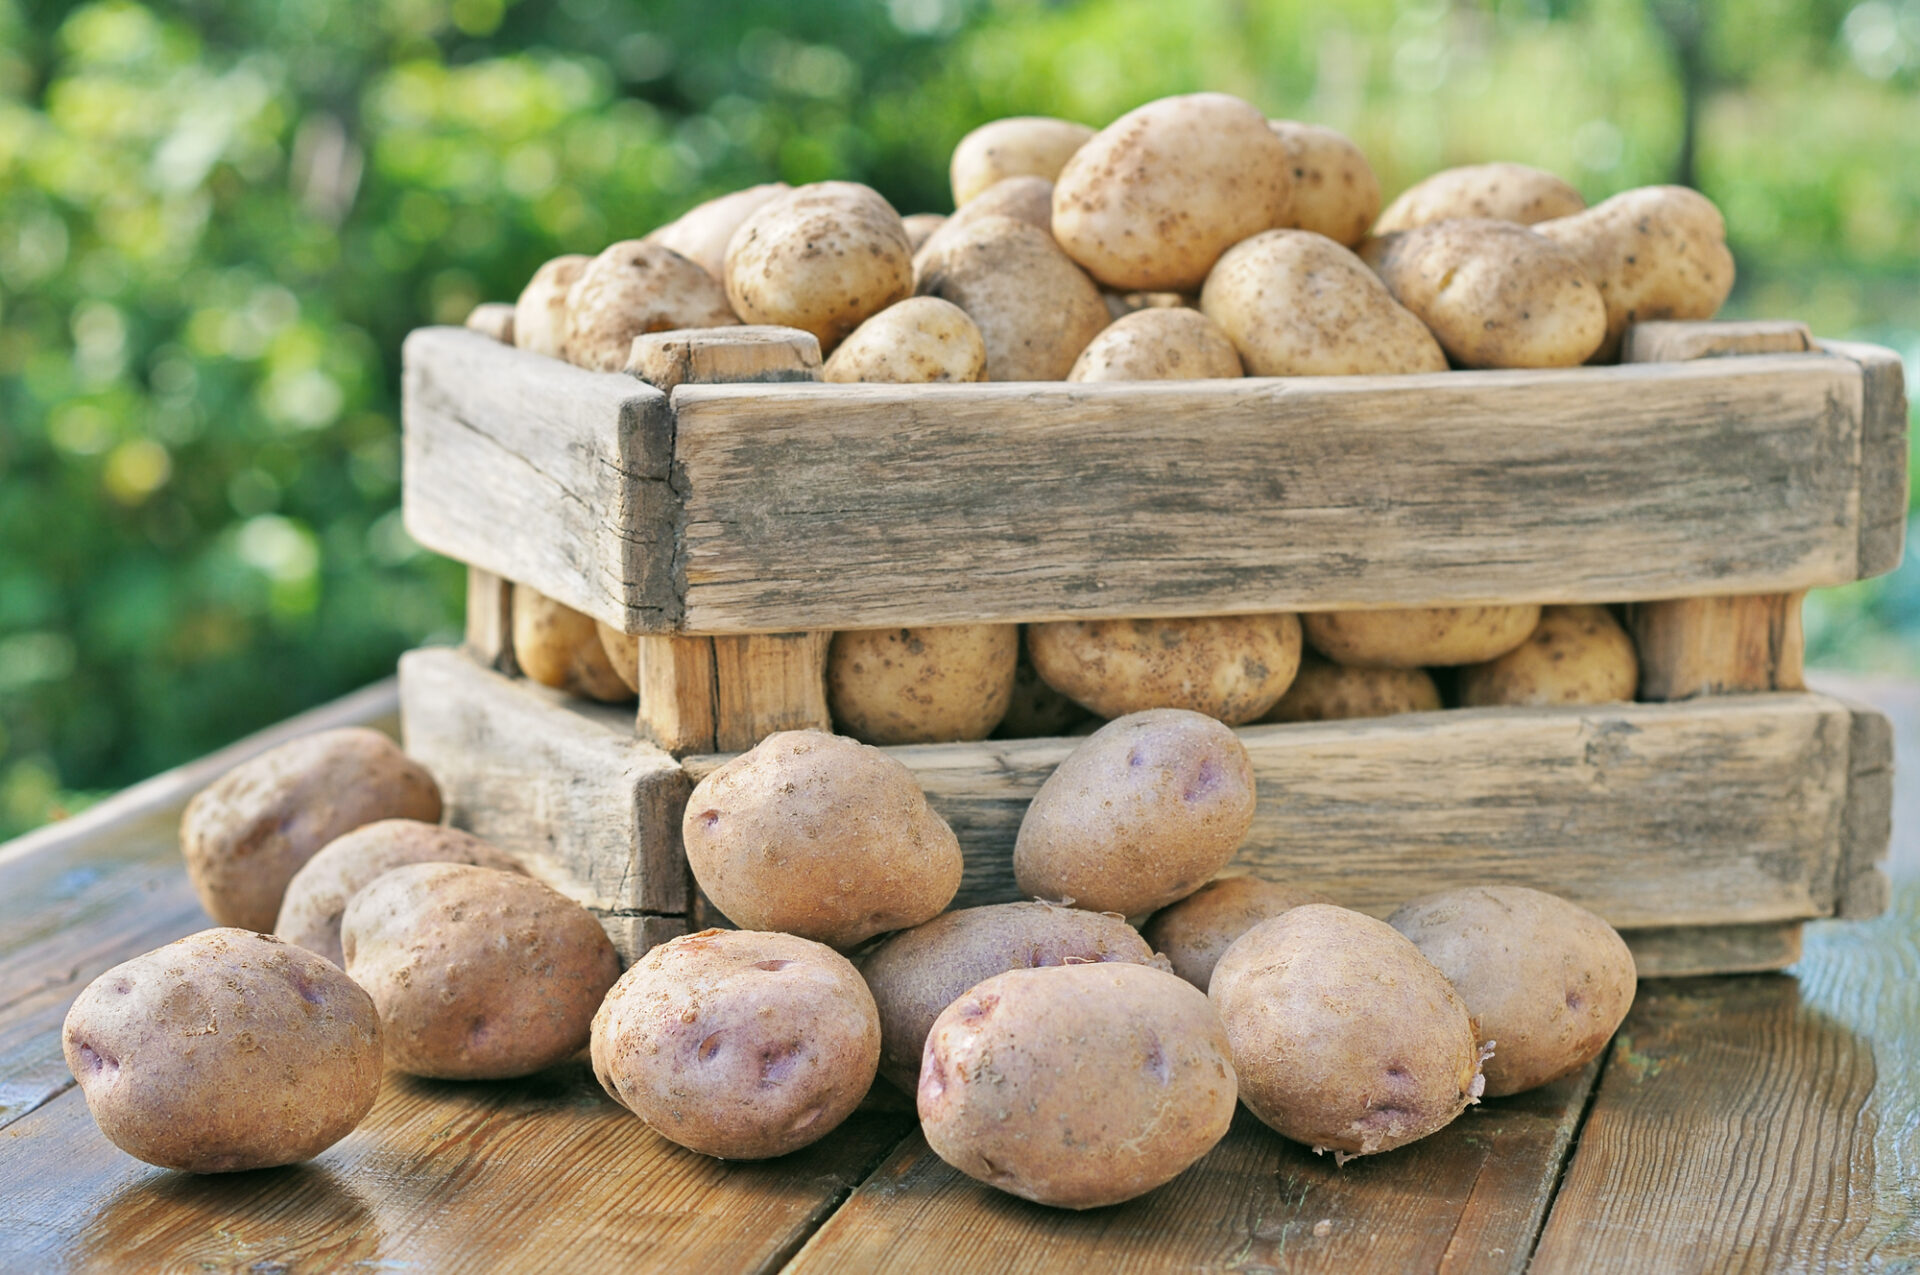
Potatoes are one of the easiest crops to grow and it’s surprising more vegetable gardeners don’t take advantage of this kitchen staple.
Potatoes are a tuber and very interesting in the way that they grow but let’s not get ahead of ourselves. First let’s talk about how to select seed potatoes.
Many people ask if they can just buy a bag of potatoes at the grocery store and plant them. Well, yes and no. Some potato growers treat their harvested crop with a growth inhibitor. This keeps potatoes from sprouting once you’ve brought them home. You can certainly plant potatoes from the grocery store but they may take extra time to sprout. Seed potatoes are never treated and sprout very quickly so we recommend selecting these whenever possible.
It’s recommended that seed potatoes be planted by mid march to ensure a good harvest (I always plant on St. Patrick’s Day) but there is a small amount of prep involved. You could theoretically just plant the entire potato but you will be cheating yourself out of a bigger crop.
A week or two before planting, set potatoes out in a bright warm area to encourage them to start sprouting. Once sprouted you can ‘chit’ the potatoes.
Every potato will have several eyes, and each eye will sprout a plant. To maximize your harvest and not crowd your potatoes while they grow, each seed potato should be cut into pieces no less than one inch in size. Each piece should contain 1-2 eyes. The cut area on the potato needs to heal before planting it. This is called ‘chitting’. Place your cut potatoes, cut side up, in a well ventilated area that is not high in humidity. In a few days a skin will form on the cut end. This skin protects the seed from rotting or being eaten by insects once it’s planted.
Before we talk about planting we need to understand how a potato grows. Once planted, your seed potato will shoot up a green stalk. Roots want to form off of the length of this stalk, and these roots will grow a potato at their tip. This is why you hear the phrase, ‘hilling your potatoes’. If soil is not continually piled onto the stalk as it grows, you will only get a few potatoes from the original roots that formed in the ground.
So let’s discuss where and how to plant them.
Potatoes need soil that is loose and full of organic matter. A mix of soil, compost and shredded leaves is perfect. Select a site that has full sun and furrow out a row about 6 inches deep and space rows at roughly 3 feet. This may seem like a lot of space but I promise there is a reason for it. Place your potatoes, cut side down, eyes facing up, in the trench spacing them 12-15 inches apart. This leaves adequate room for roots to branch out. Cover the potatoes with soil to about 4 inches and wait for sprouts to appear.
When sprouts are 6-8 inches high, use a hoe to begin pulling soil from the center of your 3’ row and mound it around the plant until only the top inch or so is peeking out. Every time the plant reaches another 6-8 inches you will repeat the process. This is the reason for the 3’ row space. It will provide you with enough soil to hill plants through the season. Plants can be hilled as high as you want to go, the higher the hill the higher the yield.
A word on fertilizing…As long as you are growing in an organically rich soil mixture, no fertilizer is necessary. The plants are receiving all the nutrients they need.
If you decide to go higher than a foot or two you may want to change your method a bit. If hills get to high above the ground you may loose soil in heavy rain. One solution is it dig your trench deeper from the beginning. A foot below ground and a two foot hill above ground will yield a good harvest. Another solution is a grow box, bag, trash can or even old tires that can be stacked and filled as the plant grows. I use a grow box made from old pallet wood. It’s a simple frame on the ground with a vertical plank in each corner. As the plant grows, simply add a plank to each side and fill with your soil mixture. When it’s time to harvest just remove the planks on one side and let the potatoes tumble out.
It’s important to keep your plants watered during the growing phase and especially during and right after the flowering period. Flowers begin to appear on the plant as the tubers are forming and water is crucial for a bountiful crop. Once flowers die back and the plant begins to turn yellow it’s time to cut off the water and think about harvesting.
If you enjoy baby ‘new’ potatoes you can begin harvesting these from the top layer of the hill about 2-3 weeks after the flowers die back.
If you prefer to wait for full size, larger potatoes that will store well, wait 2-3 weeks after all of the foliage die back before you harvest. This time period will allow the potatoes to harden off by maturing the skin.
Once you are ready being sure to harvest after there have been a few days of dry weather. Harvesting wet potatoes will lead to mold and fungus growth.
Harvesting potatoes inside your hill should be as easy as gently moving away the soil to uncover the crop but, potatoes below the soil line need to be removed carefully with a garden fork or hand shovel so as not to accidently pierce the potatoes. If this happens, the potato is no longer viable for storage but can be cleaned and eaten the same day. Be careful when handling them as newly harvested potato skins are fragile and can be torn if handled to roughly. Just like pierced potatoes, any potatoes with skin accidently removed should be eaten and not stored.
Once all of your potatoes are harvested they need to finish curing for storage. If there will be at least 2-3 days of dry weather you can leave them sitting in the garden but, if rain is expected, move them to a covered area such as a porch or garage to cure.
Once cured, store your potatoes in a well ventilated, dark and cool place with a temperature around 40 degrees. If you planted and harvested enough potatoes you may be enjoying them throughout the winter! If you have any questions, contact us today!