The Victory Garden- Building the Plot
Congratulations! The mentally challenging part of your garden has been tackled! You’ve committed to your Victory Garden, decided on your basic vegetables, and determined your location and plot size.
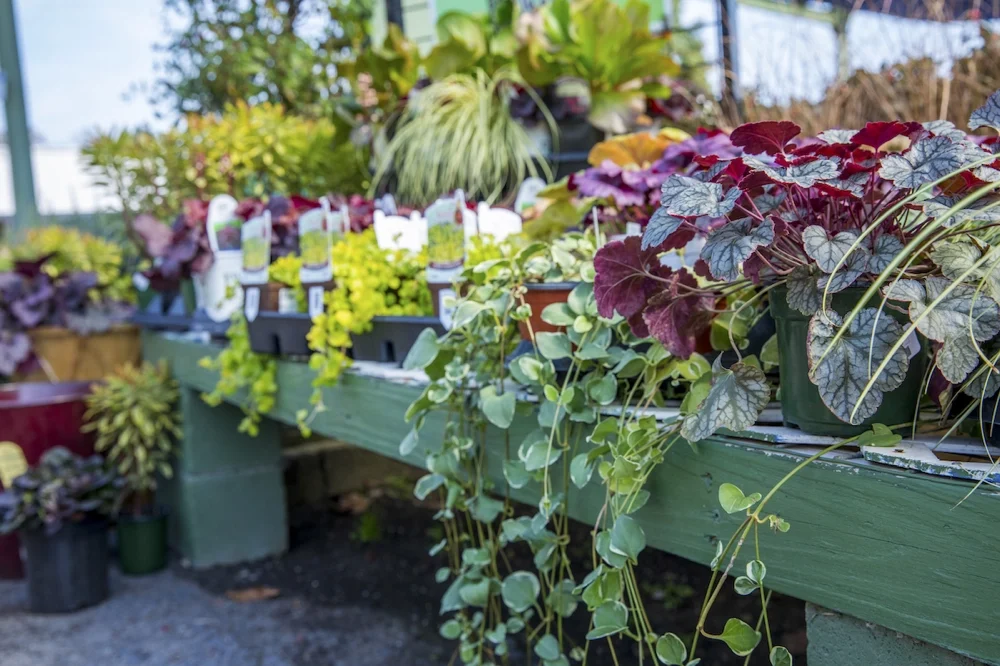
The Victory Garden Kit
So let’s talk about structure and soil.
Again, this is East Tennessee. The home of rock and clay! You have two choices, truck in great soil to create a raised bed or, amend the heck out of the soil God gave you. I promise we are not ignoring container gardening, table gardens, or hydroponics. They deserve a post all to themselves.
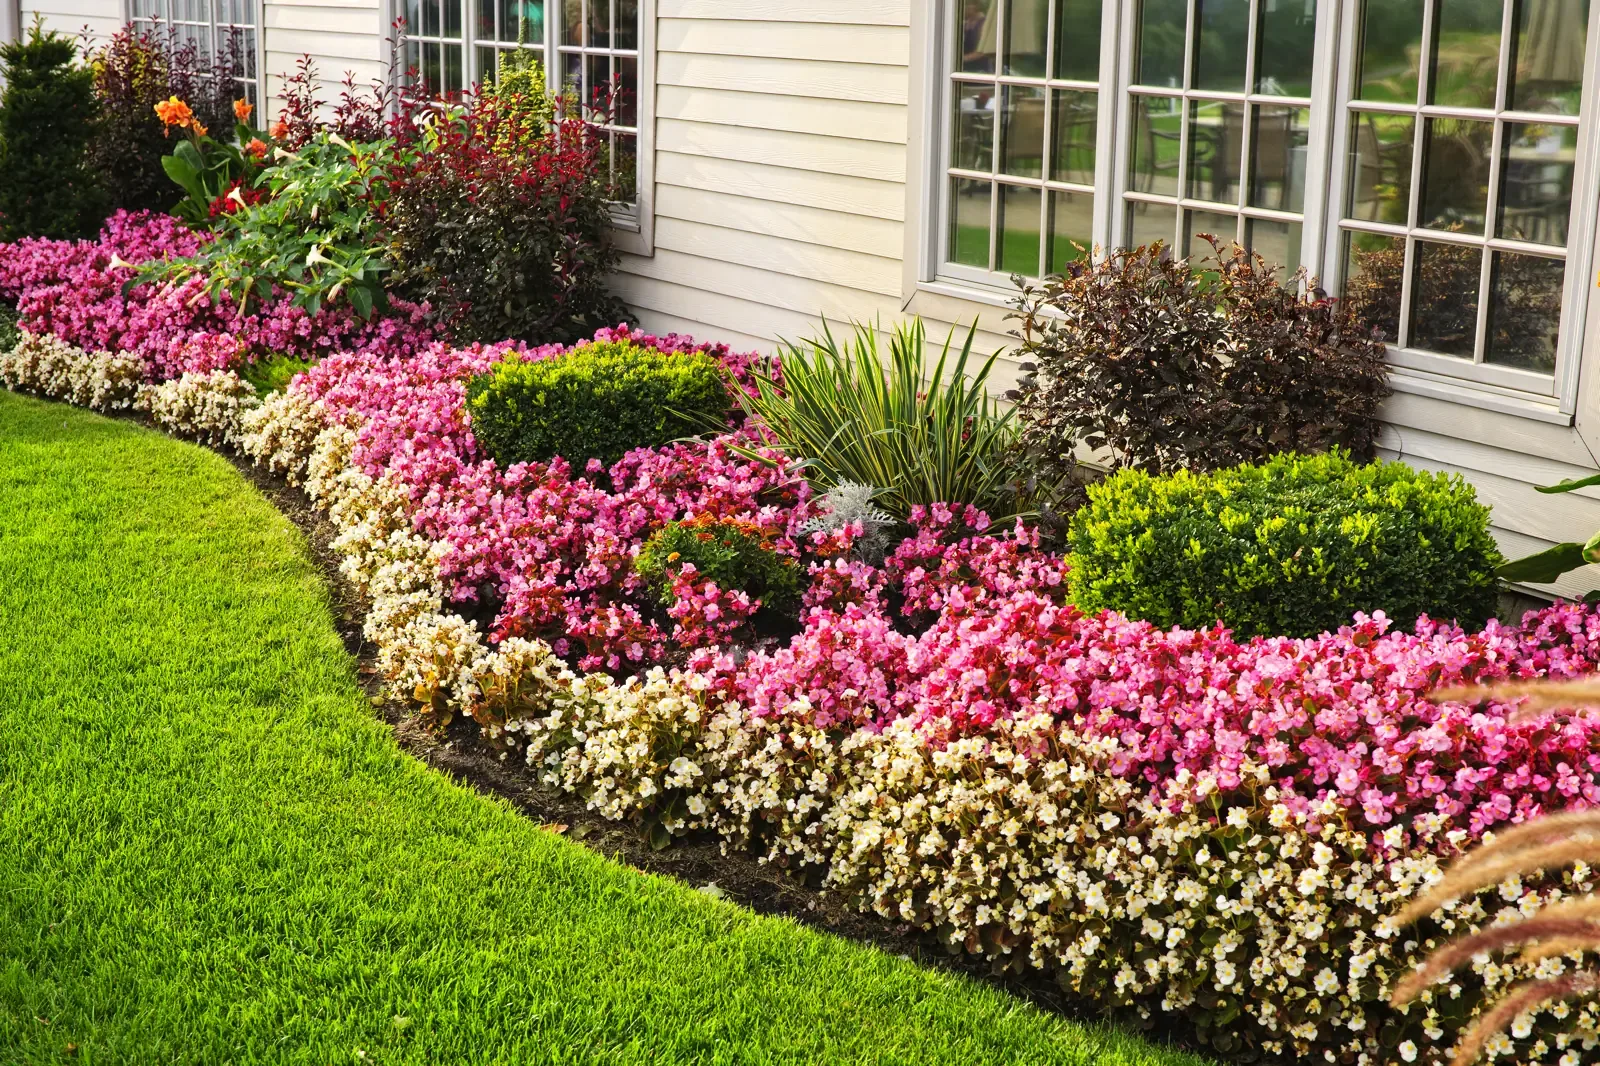
First, let’s discuss raised beds. If you decide this is the best choice for your situation, give some thought as to how you’re going to hold in all that black gold. There are a wide range of options. Wide wood boards, tall plastic or metal edging, bricks, large stones, I’ve even seen some pretty cool beds made from old tires. My edging of choice however would be cinder block. Not only does it last forever, but it also has those great holes where you can plant heat-loving herbs or pollinator flowers! Whichever edging you choose just make sure that it’s at least 8-12 inches in height to allow enough depth for root vegetables and plants with large root systems.
Now you’re ready to bring in your soil. But which soil?
We know from our last discussion, different vegetables have different nutritional requirements but, if you don’t start with a base of healthy soil, no fertilizer in the world will help your vegetables grow. Garden centers, like Willow Ridge, carry exactly what you need. The best starter soil is a 50/50 mix of good quality sifted topsoil and mushroom compost. Topsoil adds the stability for root systems and mushroom compost adds micronutrients and airiness to allow roots to branch out and create an aerobic environment for beneficial bacteria and insects.
Once you have set your edging and brought in the soil it’s time to fill it right?
Hang on; we don’t want to skip one very important step! If you shovel all of that beautiful rich new soil on top of grass and weeds, within one season you will be the proud owner of a beautiful, healthy, raised bed of…yup…grass and weeds. I promise you will kick yourself by the end of the season if you don’t eradicate everything below your raised bed before you fill it.
If you have access to a tiller, make a few passes over the area to disrupt the roots of anything green and remove as much as you can by hand. If you don’t have access to a tiller, you can use a shovel to scrape the surface and churn up the dirt as much as possible. But if that also isn’t an option think cardboard!!! A thick layer of cardboard works wonders to block grass and weeds. Just remember to remove any staples or tape before laying it down. It’s porous enough to let water drain through but tough enough to block the weeds, grass, and smother the root system. It will last through several seasons and break down slowly adding beneficial carbon to your soil and create a great habitat for worms.
Now… you’re ready to fill!
Next, we’ll discuss building a garden directly in rocky, clay soil. This method requires significantly more time, labor, and amendments but, it can be done. Your first step should be to have a soil test completed to know what your soil may be lacking. This test can be done through your county Ag Extension office. While you wait for your results you can begin creating your bed.
Just like a raised bed, the most important step is removing all of the existing grass and weeds. Depending on the size of your garden, a tiller is probably going to be your best option. After a few passes, remove as much of the green matter, roots, and rocks as possible. Continue your passes until you have broken down the largest clumps.
The most important addition after this step is to till or dig in organic matter to lighten the clay soil. If you are able to bring in compost or, if you already have a compost pile in your yard that’s ready to go, now is the time to add it to your bed. Materials such as grass (not weed) clippings dried chopped leaves or small to medium wood chips can all be tilled in to create a fluffier texture. Light soil is necessary for oxygen flow to the plant roots as well as proper water absorption and drainage. When starting from scratch, it will take several seasons for your soil to reach its optimum texture, and we will discuss building and maintaining the soil through composting in a future post. Once your soil test is completed you can determine what nutrients are lacking and begin to add them in.
In our next segment, we will talk about alternatives to traditional plot gardens so be sure to check it out!